Being the parent of a high school senior often feels like the financial equivalent of being an ATM. You are constantly being asked to hand over piles of money for something. The list of requests can run the gamut from a “Not that bad” $20 class t-shirt to a “Are you freaking kidding me?” $75 times TEN for a compilation of college application fees.

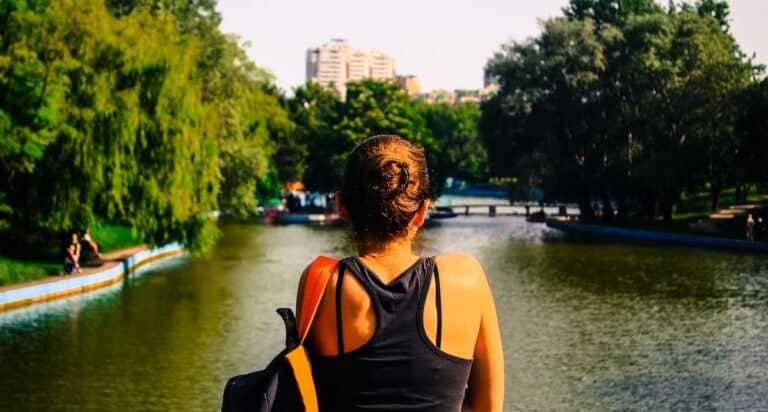
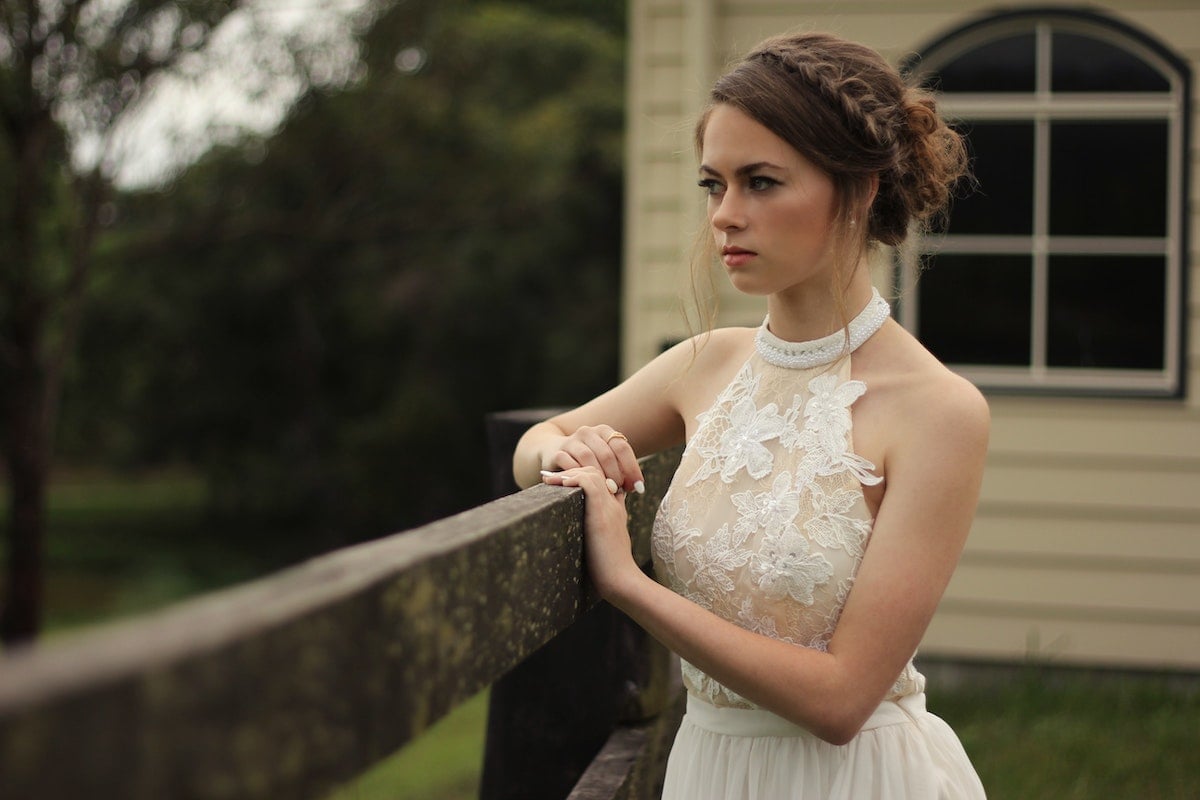
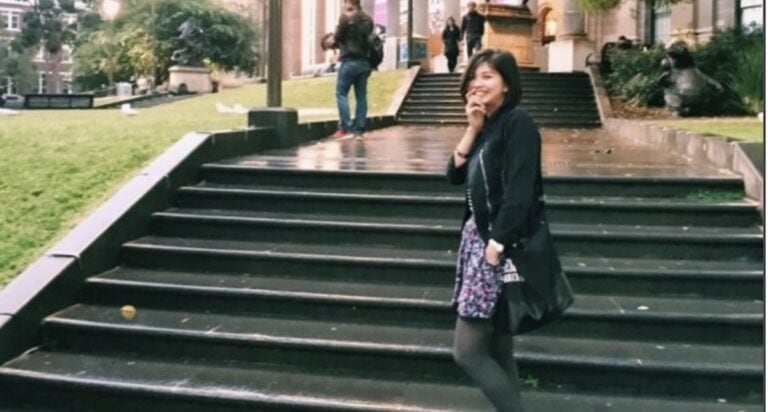
Senior portraits can be expensive
And depending on where you live, the cost of having senior portraits done can be one of the highest ticket items on your student’s list of wants. This year, when many of us have taken a financial hit due to COVID, the thought of spending several hundred, or sometimes close to a thousand dollars on portraits is rather unsettling.
But you might be surprised to find out that there are some easy ways to get around hiring a pricey, professional photographer and turning this into a fun DIY experience with your student. And before the pros out there get upset and feel like they’re being dismissed, let me just say that I support professional photographers and think they are a great option for those who can easily afford them.
We all make personal choices on how we want to spend our family’s hard-earned money. When times are tough, we must decide where and how we want to cut back on our discretionary spending. DIY senior portraits may be a helpful choice for some this year.
So, if this seems to you like a great way to save some money in 2020, how do you get started?
How to take your own senior portraits
1. Research everything first.
First, assess what kind of camera you own. For many of us these days, all we have are our smartphone cameras, and that’s fine. With so many photo editing apps available, practically anyone can take a picture that ends up looking like a pro took it.
If you would prefer a better DSLR type camera, see if you can borrow one from a friend or family member and watch a couple of YouTube videos to become familiar with how it works.
Scour Pinterest for thousands of ideas for every aspect of your portraits: clothing styles, poses, props, and background or location ideas. Have your student create their own Pinterest board of inspiration.
2. Buy low-cost or borrow what you’ll need.
Most students today like to do at least one outfit change for senior portraits, some kids want to try out multiple ensembles. Shop first from the closets in your house. Your kid might be surprised to find some cool “vintage” looks hidden in a parent’s closet. Hit up thrift stores or swap articles of clothing and accessories with friends.
Photo props are super easy to find, because many students have their own items to choose from – sporting equipment, their musical instrument, their ballet toe shoes, a playbill, a favorite book, or an item from their preferred hobby. And if there’s a family pet, bring them along for their charming appeal.
Props can also easily be purchased at places like dollar or party supply stores. Something simple like a bunch of helium-filled balloons or faux flowers in their school’s colors are inexpensive to buy and look great in photos.
3. Take advantage of “The Golden Hour.”
As the professionals know, the Golden Hour in photography is the period of daytime shortly after sunrise or before sunset, during which the outside light is more reddish in color and softer than when the sun is higher in the sky. That window of time is determined by where you are geographically, as well as the season.
4. Do not rush the editing process.
Editing your photos can take a while, so be patient with yourselves. If your senior has a student edition of Adobe Photoshop, you’re in great shape to start editing. There are also many cheaper smartphone apps to help with this, and you can Google online programs as well.
The important things to keep in mind are always edit copies of your originals so you have the first unedited versions saved. And do not go too crazy with the editing. Basic, simple touch-ups look the most natural and classic. You don’t want these photos to look outlandish in twenty years.
Play around with cropping your pictures using different orientations and keeping some close-up and some farther away. You can find editing tutorials on YouTube as well.
Finally, let your student choose their favorites. This is their senior portrait.
Look for great printing deals
Sign up at online photo sites like Minted or Snapfish, and you’ll start getting notifications of any deals they are offering.
If you are in even more of a rush, try a Costco Photo Center or check out an instant print kiosk in Walmart. (PC Magazine rated Snapfish and Walmart the best for low cost and value for online photo printing services.)
So, if you’re looking to save some money this year and scale back a bit on some of those senior year expenditures, it is easier than ever to DIY your student’s portraits. Take advantage of the many free tutorials, tips, and inspiration you can find online.
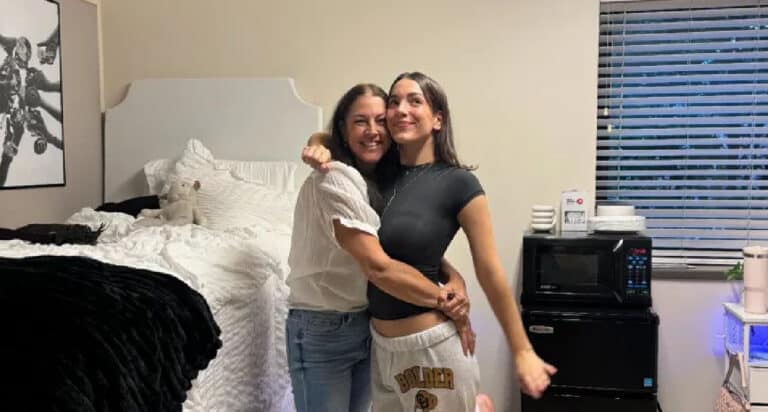
We took both of my kids’ senior portraits with our own camera and edited them with my daughter’s student edition of Adobe Photoshop. We saved hundreds of dollars and had fun, memorable experiences each time we did it.
More to Read:
Here’s How to the Make the Year Special for the Class of 2021